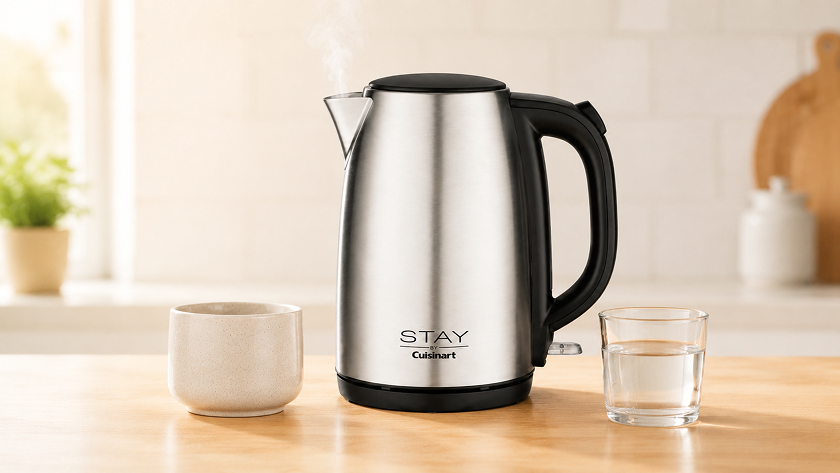
You just unboxed your first electric kettle, and you’re wondering if there’s more to it than “fill it, plug it in, wait for the click.” There is — but only a little. The good news is that an electric kettle is one of the most forgiving appliances in your kitchen. The part most guides skip is the very first use: the rinse, the smell, and the moment you know it’s actually done. So let’s walk through it the way we’d walk a friend through their first 30 minutes with a new kettle.
Before Your First Boil: Unboxing and Cleaning
Pull off every scrap of packaging first, including the thin protective film manufacturers often leave on the body and base. Kettles ship with a light protective coating and pick up dust and manufacturing residue in the factory and the box. That’s why the first thing you should never do is boil water and drink it.
Open the lid and wipe the interior with a little mild dish soap and a soft cloth, then rinse well. Never submerge the base or the electrical contacts in water, only the kettle body touches soap and water, and even then, keep the outer base plate dry.
Now the step almost every article mentions but rarely explains: the boil-and-discard cycle. Fill the kettle to its max line, bring it to a full boil, and pour the water down the drain. Do this once or twice. Why? That first boil lifts any leftover residue and that faint “new plastic” smell out of the kettle so it never ends up in your tea. It takes five minutes and it’s the difference between a first cup that tastes like water and one that tastes like a factory.
Setting Up Your Kettle
Set the base on a flat, dry, heat-safe surface, pushed back from the edge of the counter so a stray elbow can’t knock it. Route the cord so it isn’t stretched taut or draped across a walkway — most bases have a small channel underneath to coil excess cord. If you have a cordless electric kettle (the most common design today), the kettle body lifts freely off a powered base plate. Seat it back down until it sits flush and clicks into place; if it’s not seated on the contacts, it won’t heat.
How to Fill an Electric Kettle Correctly
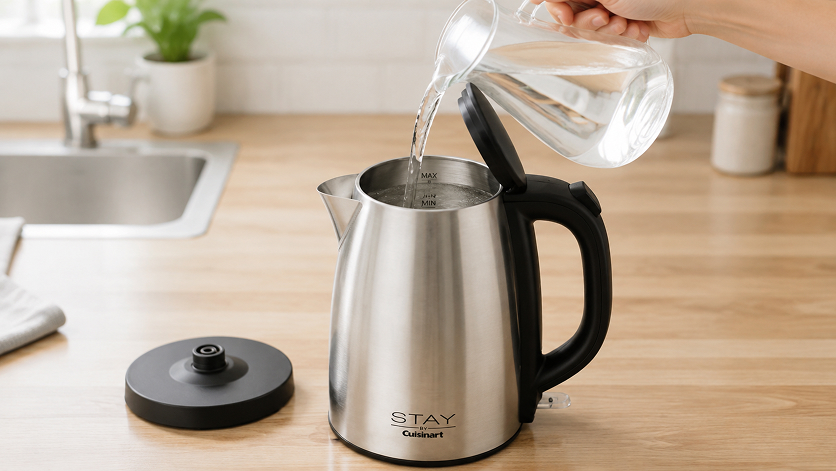
Open the lid, or the pour spout, on some models — and add fresh, cold or room-temperature water. Reheating already-boiled water tends to taste flat, so start fresh each time.
Look inside for two markings: a MIN line and a MAX line. Stay between them. Below the min line, the heating element can be exposed and overheat; above the max line, boiling water can spit out of the spout and steam can burn your hand. A simple habit that saves energy and time: only fill what you actually need. Boiling two cups instead of a full kettle for a single mug of tea is faster and cheaper.
If your tap water is hard, filtered water tastes cleaner and leaves far less chalky mineral scale inside, which means less cleaning later. If you’re curious about what’s happening inside as it heats, we break it down in how an electric kettle works.
How to Turn On an Electric Kettle
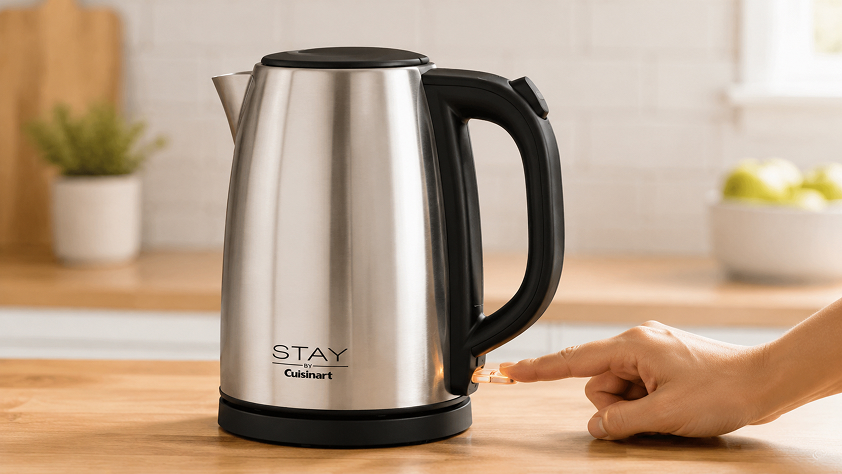
Find the power control. On basic kettles it’s a rocker switch at the base of the handle, press it down and it stays down while heating. On models with a base panel or digital display, you’ll press a button or turn a dial instead.
If your kettle has temperature presets, choose your setting before you press start, pick the tea or coffee preset, or dial in a specific temperature, then hit the button. An indicator light or a lit display confirms it’s heating. That glow is your “it’s working” signal.
How to Know When an Electric Kettle Is Done
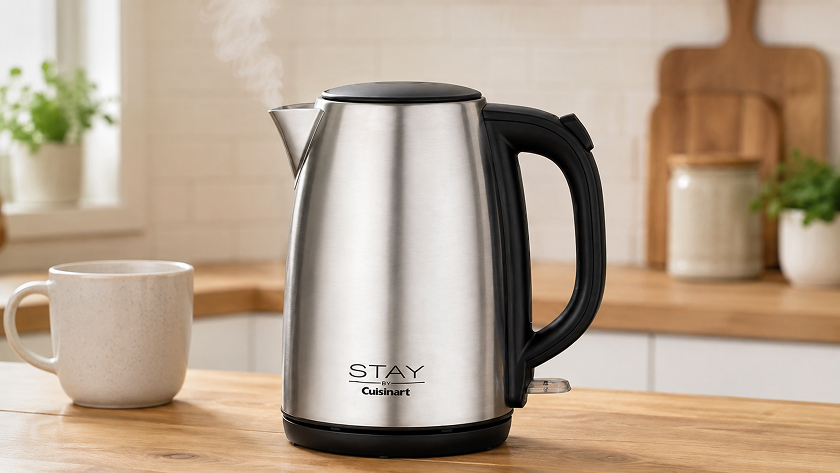
This is the question new owners ask most, and the answer is reassuringly simple. Nearly every modern kettle has automatic shut-off: when the water reaches a rolling boil, a thermostat trips, the switch clicks back up, and the indicator light goes out. That audible click and the light switching off is the signal it’s done. On digital models, the display beeps or shows the target temperature has been reached.
One thing to understand: steady steam or a whistle is not the same as auto shut-off. Steam venting from the spout just means the water is hot, always glance at the switch or light to confirm it has actually powered down.
If your kettle keeps clicking off before it boils, the usual culprit is limescale on the heating element fooling the thermostat — a good descaling fixes it. If it won’t click off at all, unplug it and let it cool; a stuck switch or a lid that isn’t fully closed can keep the sensor from tripping. We cover those snags in more detail in our troubleshooting guidance, but on day one, the rule is simple: if it doesn’t shut itself off within a minute of a hard boil, switch it off manually and check the lid is latched.
Pouring Safely
Wait a few seconds after the click before lifting, it lets the boil settle so water doesn’t surge out of the spout. Lift by the handle only, keep the lid latched shut (an open lid lets steam escape toward your hand), and pour steadily, spout angled away from your body. If you’re boiling back-to-back, give the kettle a minute to cool before refilling with cold water; adding cold water to a scorching-hot element repeatedly shortens its life.
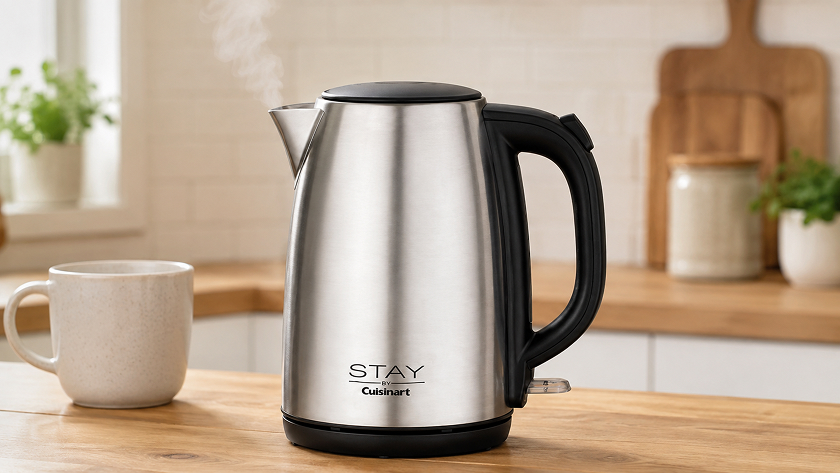
Making Your First Cup: Tea, Coffee, and Plain Water
Here’s where temperature matters. Boiling water isn’t right for everything.
- Tea: Black and herbal teas want a full boil, around 212°F (100°C). Green and white teas are delicate — pour water at about 160–185°F (70–85°C), or boiling water rested for 30–60 seconds, or they turn bitter. Pour over the bag or infuser and steep 2–3 minutes for green, 3–5 for black.
- Coffee: For pour-over or French press, aim for 195–205°F (90–96°C) — just off the boil. If you don’t have temperature control, boil and wait about 30 seconds before pouring.
- Plain boiled water: Great for instant oatmeal, noodles, cooking, or sterilizing. Water brought to a rolling boil in a clean kettle is safe to drink, see what to know about boiling milk and other liquids before you try anything beyond water.
A preset kettle does this math for you. A basic on/off kettle just needs you to let boiling water cool for a moment — a thermometer or a 30-second wait is all it takes.
After You’re Done
Empty any water you didn’t use rather than leaving it to sit, standing water encourages mineral spots and, over weeks, scale. Power off at the switch and, if you won’t use it for a while, unplug the base. Let the kettle cool completely before wiping it down or descaling.
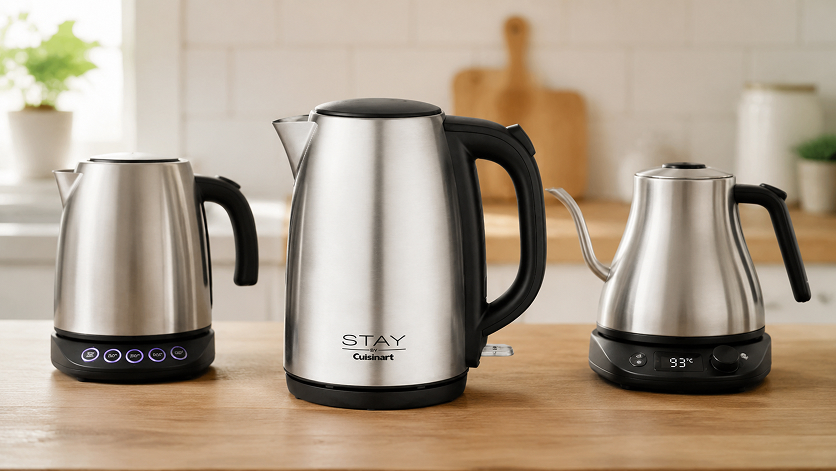
Quick Brand Notes: How the Controls Differ
The steps above apply to every kettle, but the buttons don’t. Here’s how the popular consumer models handle it.
| Brand | Controls | How you turn it on / off |
|---|---|---|
| Chefman | One-touch temperature presets + keep-warm button on select models | Tap a preset (or the boil button) to start; it auto-shuts off, and you press the power/keep-warm button off. To turn off a Chefman kettle mid-cycle, press the power button or lift it from the base. |
| Cosori | Temperature dial or presets tuned for tea and coffee, often with a hold function | Select temperature, press start; display shows progress and holds temp until you press off. |
| Hamilton Beach | Simple physical on/off switch, no presets on most models | Flip the switch down to boil; it clicks up automatically when done. |
| Ovente | Single switch with an LED power indicator and auto shut-off | Press the switch; the LED glows while heating and shuts off at boil. |
| Aroma | Basic single-switch on/off, budget-friendly simplicity | Press to boil, auto shut-off at the boil — nothing to set. |
| Stagg EKG (Fellow) | Precision digital temperature dial + HOLD mode for pour-over | Turn the dial to your target temp, press to start; HOLD keeps it there, and it auto-enters standby after about an hour. |
Notice the pattern: the more a kettle is built for coffee and specialty tea, the more control it hands you. A Hamilton Beach or Aroma is one-switch simple; a Stagg EKG or Cosori lets you nail an exact temperature. Neither is “better”, it depends on whether you drink drip tea or dial in a pour-over. If you’re still deciding, our electric kettle buying guide lines up the trade-offs.
That’s the whole ritual. Rinse and boil-and-discard once, fill between the lines, press start, wait for the click, and pour by the handle. Do it a few times and it becomes muscle memory, the kettle earns its spot as the fastest, most-used appliance on your counter.
Frequently Asked Questions
Do you need to clean a new electric kettle before first use?
Yes. Wipe the interior with mild soap and water (keep the base dry), then run one or two boil-and-discard cycles with plain water. This clears manufacturing residue, dust, and the faint new-plastic smell so your first real cup tastes clean.
How do you know when an electric kettle is done boiling?
Listen for the switch to click back up and watch the indicator light or display turn off, that’s the automatic shut-off tripping at a rolling boil. Steam or a whistle alone doesn’t mean it’s finished, so always confirm the switch has powered down.
Why does my electric kettle keep clicking off before the water boils?
Usually limescale buildup on the heating element is fooling the thermostat into thinking it’s hotter than it is. Descale the kettle with a water-and-vinegar or citric acid solution and the problem typically clears. A lid that isn’t fully closed can also cause early shut-off.
Can you leave water in an electric kettle overnight?
It’s fine occasionally, but it’s not a habit we’d recommend. Standing water leaves mineral spots and speeds up scale buildup, and repeatedly boiling old water tastes flat. Empty the kettle after use and fill fresh each time for the best taste.
How much water should you put in an electric kettle?
Always stay between the MIN and MAX lines marked inside. Below the minimum, the heating element can overheat; above the maximum, boiling water can spit from the spout. For efficiency, only fill what you actually need for the cups you’re making.
Is it safe to leave an electric kettle plugged in all the time?
Modern kettles with auto shut-off are safe to leave plugged in, but there’s no benefit to it. For first-time owners we suggest switching it off and unplugging the base when it’s not in use, it saves a trickle of energy and adds a layer of peace of mind.
Leave a Reply